
Integrations
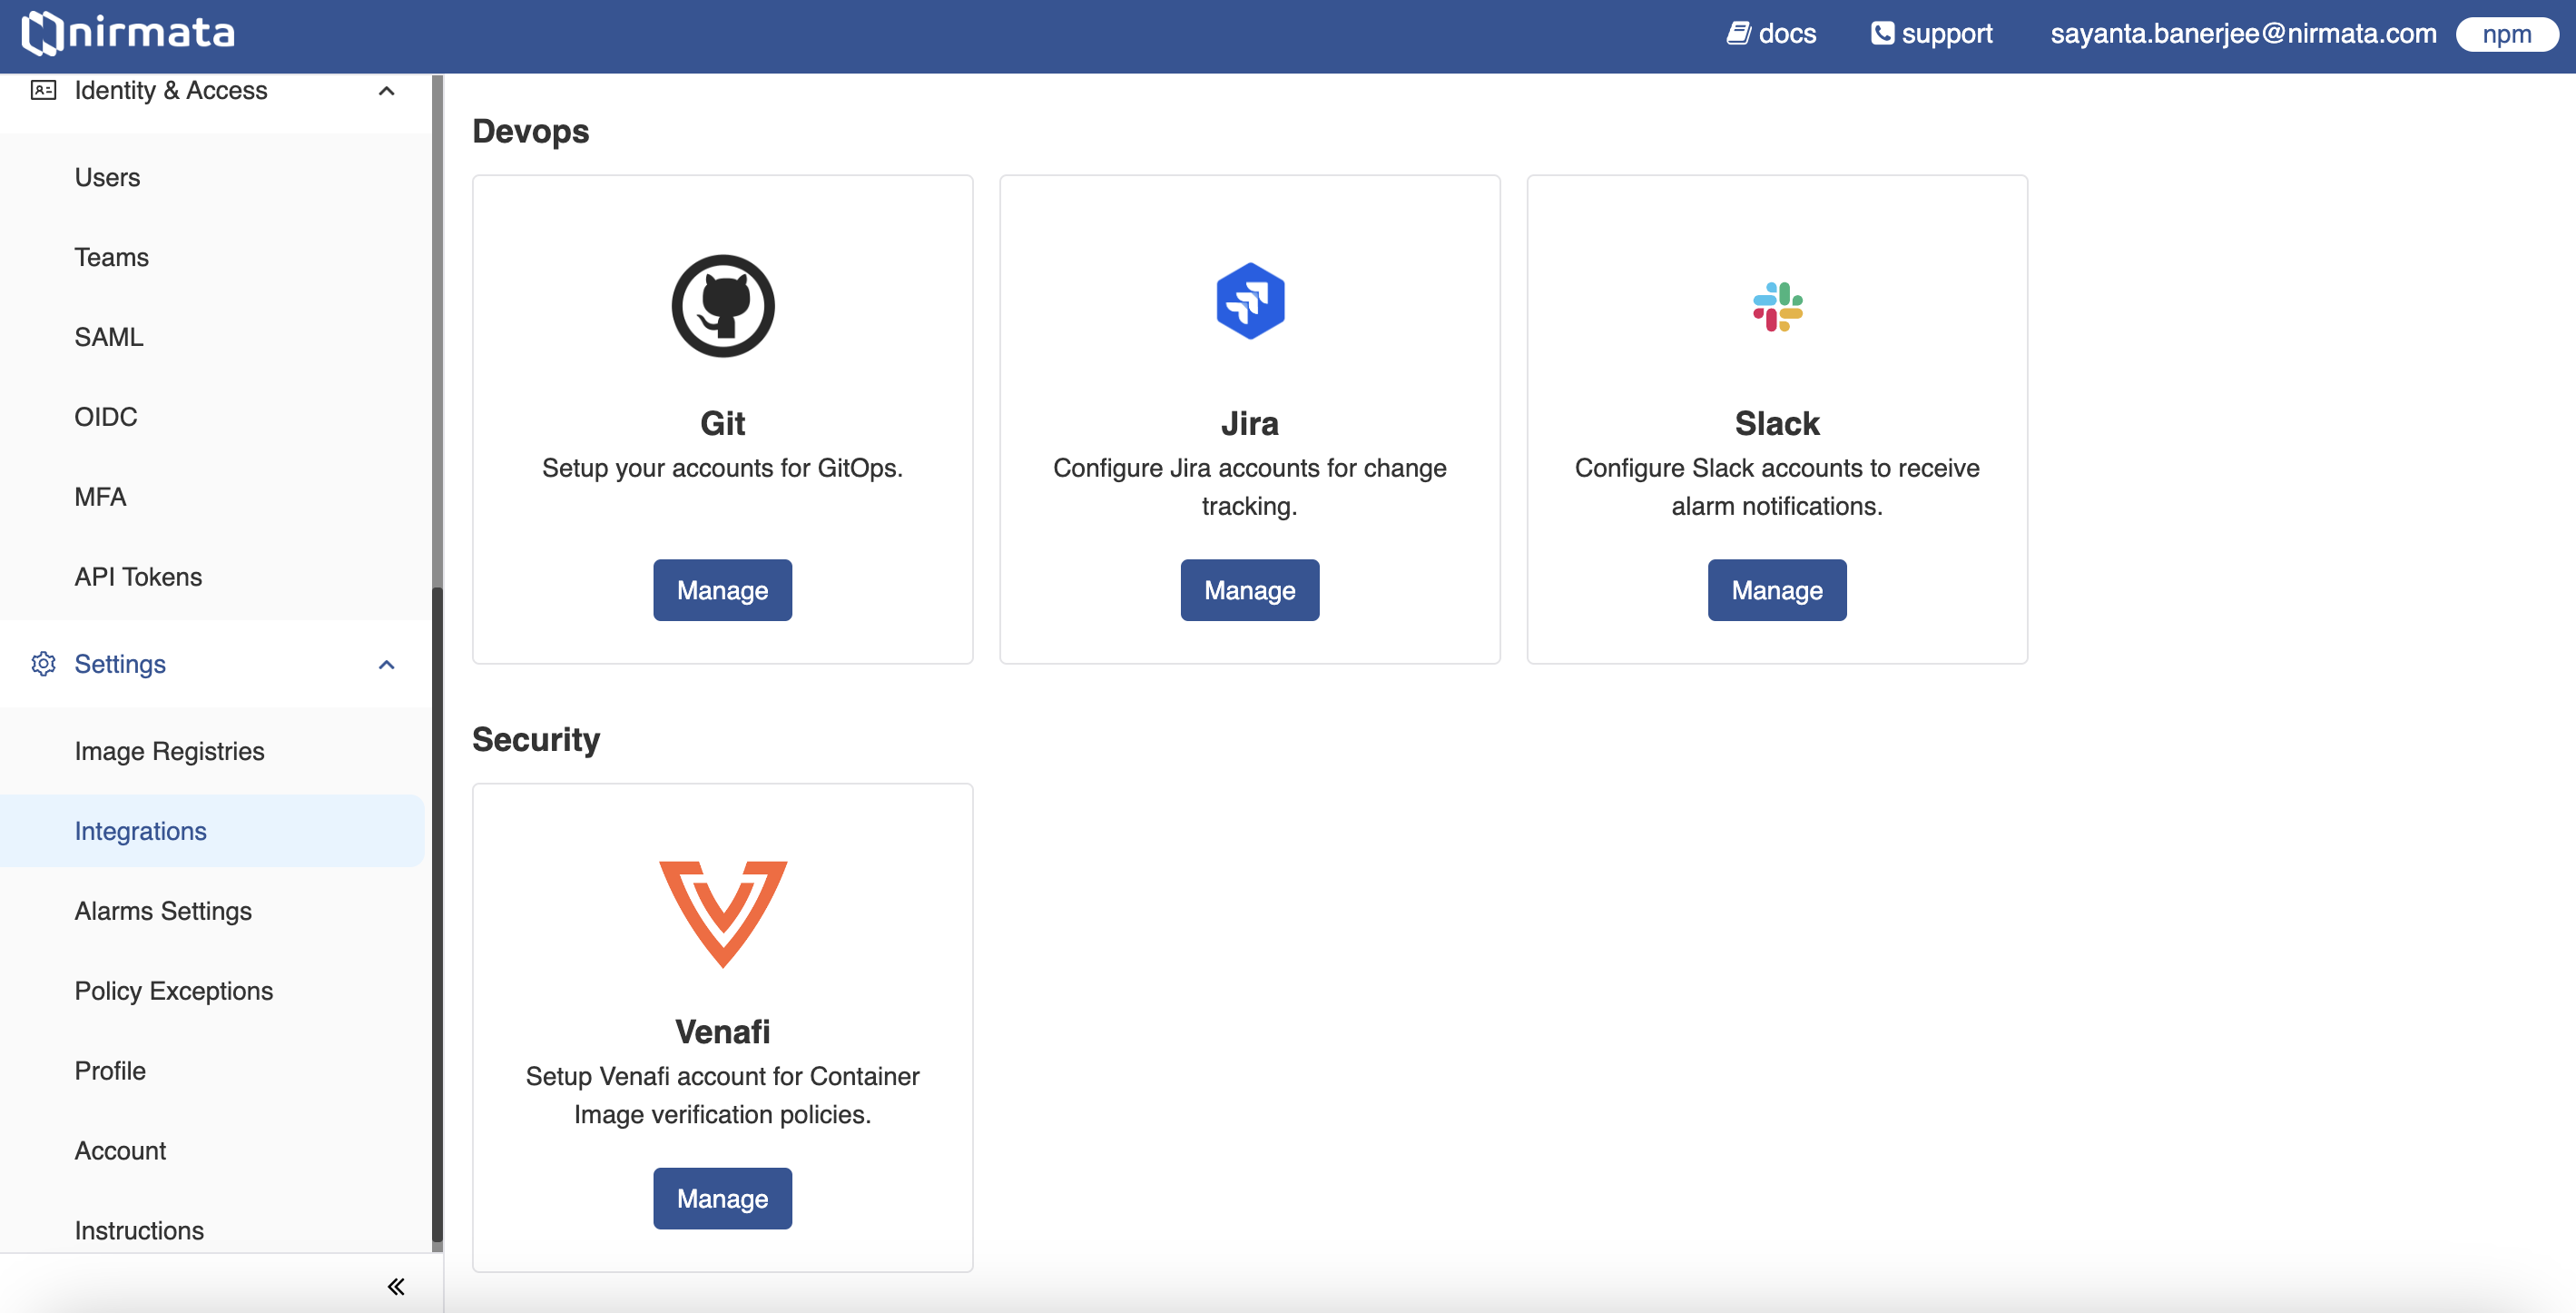
The Integrations section in Settings allows integration of the Nirmata platform to third-party applications like Git, Slack, Venafi, and Jira.
Git
Nirmata users can integrate Git to set up accounts for GitOps. To configure Git, click Add Git Credentials/Create Git Credentials and add the following Git details:
-
Name - A unique identifier for the Git Credential.
-
Username - Git username.
-
Password/ Key - Git password.
NOTE: You can add Access Controls to restrict access to Git Credentials.
Slack
Nirmata users can integrate Slack accounts to receive alarm notifications. To configure a Slack account, click Add Slack Credentials/Create Slack Settings and add the following Slack credentials:
-
Name - Name of the Slack account.
-
API Token - API access token for the account.
Note: Validate the API Token by clicking on the Validate API Token button.
Venafi
Nirmata users can integrate the Venafi security system by setting up Venafi credentials. To configure Venafi credentials:
-
Click Add Venafi Settings.
-
Enter the following Venafi credentials to add the Venafi security configuration, and click Add.
-
Name - Name of the Venafi integration.
-
Auth URL - The authentication URL for the Venafi Trust Protection Platform (TPP).
-
HSM URL - The HSM URL for the Venafi Trust Protection Platform (TPP).
-
Username - Venafi Trust Protection Platform username.
-
Password - Venafi Trust Protection Platform password.
-
Additional Trusted Certificate (Optional)
Jira
Nirmata users can configure Jira Change Management to automatically track application changes in Jira. To configure and integrate Jira:
-
Click Create Jira Settings or Add Jira Settings.
-
Enter the following Jira account details: Name, Address, Username / Email, and Password.
-
Select the Accept All Certificates checkbox if you want to add the certificates.
-
Click Next.
-
Enter Project Key, Priority Type ID, Issue Type ID, and click Next.
-
Add Access Control Policy and click Finish.